Saturday, July 27, 2019

Pesto Pasta with Seared Corn and Padrón Peppers


Visit the Fairmount Neighborhood Farmers Market this Sunday between 10 am - 2 pm, on the corner of Agate and 19th Ave., for beautiful summer produce from Camas Swale Farm, including fresh tomatoes, corm, and padrón peppers, and pastured meat and poultry from Fair Valley Farm and Fog Hollow Farm.


We are delirious with excitement when the padróns are available, and want to sear them and eat them on everything. This pasta dish was especially delicious and packed with summer flavors. Starting with pesto pasta, I layered on seared corn, seared padróns, cherry tomatoes, and feta cheese.


Pesto Pasta with Seared Corn and Padrón Peppers
pesto
1 clove garlic
1/2 cup whole almonds
2 ounces pecorino romano or parmesan cheese
1 cup basil leaves
1/4 cup olive oil
salt to taste

1 pint padrón peppers
2 ears corn
1 pint cherry tomatoes
1/2 cup cubed feta cheese
olive oil
1 lb pasta

1. Set a large pot of salted water to boil.

2. Make the pesto. In a dry skillet, heat the unpeeled garlic clove until it is soft and blackened in spots. Transfer to a cutting board to cool before peeling. Put the whole almonds in the hot skillet and toast until they are fragrant, but don't let them burn. You can also toast the garlic and nuts in a toaster oven. Combine the almonds, peeled garlic cloves, cheese, and salt in the bowl of a food processor and chop coarsely. Wash the basil leaves and add to the food processor. Blend while pouring in the olive oil until it is a fairly smooth paste. Taste and add salt or more olive oil to taste.

3. Heat a cast iron skillet over high heat. Peel the corn and when the pan is hot, place in the ears. Rotate to sear the kernels on multiple sides. When they have some nice char in places, transfer them to a plate. When the ears are cool enough to handle, use a knife to cut the kernels off the corn and reserve.

4. Adjust the heat to medium high. Add about 1 Tbsp olive oil, swirl to coat, and then add in the rinsed padrón peppers. Spread into a single layer and allow them to char a bit. Then start turning them to char on multiple sides. When they are nicely seared, transfer to a bowl and sprinkle with sea salt.

5. When the water is boiling, add the pasta and cook according to the instructions. Reserve a small amount of starchy pasta water, then drain and transfer to a bowl. Stir in the pesto, using a little pasta water to thin if necessary. Toss in the corn, peppers, cherry tomatoes, and feta cheese (or keep on the side and let people help themselves to their preferred toppings). Enjoy.

Saturday, July 20, 2019

Marinated Seared Zucchini


This Sunday at the Fairmount Neighborhood Farmers Market between 10 am - 2 pm, on the corner of Agate and 19th Ave., you'll find a plethora of summer produce from Camas Swale Farm, including fresh tomatoes, and you can stock up on pastured meat and poultry from Fair Valley Farm and Fog Hollow Farm.


Next to the eye popping tomatoes, summer squash may not seem so glamorous, but be sure to pick up a few zukes for their infinite versatility when throwing together a dinner on a hot summer night. My new favorite preparation comes from this simple food52 genius recipe that sears slabs of zucchini on a hot skillet until nicely browned and then finishes them with basil and vinaigrette.


Once you've prepared a platter of these zucchini you are halfway to dinner. I served them with other Camas Swale produce -- boil potatoes, sweet cucumbers, and tender lettuce leaves -- along with some hard boil eggs and tinned smoked trout for an impromptu self-assemble salad spread that everyone enjoyed.


Canal House's Marinated Zucchini
5 tablespoons extra-virgin olive oil, divided
1/2 pound very small zucchini, trimmed and halved lengthwise
Salt
1/2 clove garlic, minced
1 tablespoon red wine vinegar
Pepper
A small handful fresh basil leaves, sliced

1. Working in batches as needed, heat 2 tablespoons of olive oil in a heavy medium skillet over medium-high heat. Arrange the zucchini cut side down in one layer in the hot skillet and cook until browned, about 3 minutes. Use a fork or tongs to turn the zucchini over, then cook them until tender, about 2 minutes, reducing the heat if the zucchini get too dark. Transfer the zucchini to a shallow dish and sprinkle with salt.


2. Whisk together the garlic, vinegar, and remaining 3 tablespoons of olive oil in a small bowl. Season with salt and pepper. Pour the vinaigrette over the zucchini and add the basil. Gently toss everything together and adjust the seasonings. Let the zucchini marinate at room temperature for about 1 hour before serving. Alternately, let marinate longer in the refrigerator. Tightly covered, marinated zucchini will keep for up to a week in the refrigerator.

Saturday, July 13, 2019

Yogurt Basted Roast Chicken with Turnips and Onions


This Sunday come to the Fairmount Neighborhood Farmers Market between 10 am - 2 pm at the corner of Agate and 19th Ave for all your summer produce from Camas Swale Farm and pastured meat and poultry from Fair Valley Farm and Fog Hollow Farm.


Last weekend I made an Indian-inspired feast with our farmers market bounty. I marinated four Fog Hollow Farm chicken legs in a spiced yogurt baste and then roasted them above a layer of magenta and white baby turnips and green onions.  


The turnips and onions were extra rich and flavorful from their long dousing in chicken juices and yogurt sauce. We devoured them along with saffron rice, this Instant Pot lentil dal, cucumber raita, and homemade naan. 


Yogurt Basted Roast Chicken with Turnips and Onions
4 chicken legs (thighs and drumsticks) on 1 whole chicken cut into pieces
1 bunch green onions, root ends trimmed
~18 baby turnips, stem and root ends trimmed

marinade
6 garlic cloves, minced
1/2 inch nob ginger root, peeled and minced
zest of one lemon
juice of one lemon
1/2 cup plain yogurt
1 Tbsp olive oil
1 tsp kosher salt
1/4 tsp cayenne pepper
1 tsp ground cumin
1/2 tsp ground coriander
1/2 tsp garam masala

1. Mix together all of the ingredients of the marinade. In a large bowl, coat the chicken pieces in the marinade and allow to sit for at least two hours or overnight, refrigerated.

2. Preheat the oven to 375 degrees. Line the bottom of a large baking pan with the green onions and baby turnips. Place a baking rack over the vegetables and place the chicken pieces on top. Bake for about 35 minutes until the chicken is cooked through (with an internal temperature of 165 degrees). Baste the chicken pieces with some of the remaining marinade in the bowl halfway through the cooking.

3. Remove the roasting pan from the oven and turn on the broiler. Set the chicken and the roasting rack off to the side and remove the roasted vegetables to a serving bowl. Return the roasting rack and chicken to the pan and baste the chicken with the remaining yogurt marinade. Transfer under the broiler and cook for a few minutes until the skin becomes nicely charred. Transfer the chicken to a serving platter and serve with the roasted vegetables.

Saturday, July 6, 2019

Eton Mess


This Sunday come to the Fairmount Neighborhood Farmers Market between 10 am - 2 pm at the corner of Agate and 19th Ave for all your summer produce from Camas Swale Farm, pastured meat and poultry from Fair Valley Farm and Fog Hollow Farm, and wine from Summerfield Vineyards. 


Camas Swale Farm has lovely strawberries, which we used in our family's traditional Fourth of July dessert, Eton mess. I will admit that it is a bit incongruous to celebrate our country's independence from England with a thoroughly British pudding, first served at a cricket match in 1893, but this tradition dates back to a very patriotic Fourth of July we celebrated with ex-pat friends in Oxford. And it certainly looks patriotic.


It's also dead easy to make, consisting of just meringues, whipped cream, and berries. You can preassemble the parts in parfait glasses, but we like to serve the components separately so that everyone can create their ideal dessert with desired ratios and messiness.


Eton mess (deconstructed)
Fresh strawberries, blueberries, raspberries, or a mixture
Whipped cream, very lightly sweetened
meringues (recipe below)

Assembly as desired. For soggier meringues, crumble them and mix them into the whipped cream, or alternatively leave them whole on top.

Meringues (adapted from sugarspunrun.com)
4 large egg whites room temperature
1/2 teaspoon cream of tartar
⅛ teaspoon salt
1 cup granulated sugar (200g)
1 teaspoon vanilla extract

1. Preheat oven to 225F (105C) and line a large cookie sheet with parchment paper. Set aside.

2. Combine egg whites, cream of tartar, and salt in a large, completely clean, completely grease-free bowl.

3. Using an electric mixer or a stand mixer (with either the whisk), stir on low speed until mixture becomes foamy. Increase speed to high.

4. With mixer on high, gradually add sugar, about 1 Tablespoon at a time, stirring after each addition until sugar is dissolved (about 15-20 seconds between each addition).

5. Beat until mixture is thick, shiny, and has increased in volume. Mixture should have stiff peaks and sugar should be completely dissolved (you can test this by rubbing a small bit of the mixture between your fingers, if it feels gritty, the sugar isn't dissolved).

6. Stir in vanilla extract and any other extract you may like to use.  If using food coloring, add the food coloring at this stage, too.

7. Fit a large disposable piping bag with a large tip and transfer meringue to prepared piping bag and pipe onto prepared cookie sheet. The meringue cookies can be pretty close to each other as they won’t spread, and you will want to bake all of the cookies at the same time, so make sure you make enough space.

8. Bake on 225F (105C) for 1 hour. Turn off the oven once the baking time has passed, and do not open the oven. Leave the oven door closed and allow cookies to cool completely in the oven (1-2 hours) before removing. Meringue cookies should be crisp and can be stored in an airtight container. Keep away from heat and moisture as it can soften your meringues.

Friday, June 28, 2019

Spring Salad with Creamy Lemon Fennel Dressing


Visit the Fairmount Neighborhood Farmers Market this Sunday from 10 am - 2 pm at the corner of Agate and 19th Ave for a wide selection of fresh produce from Camas Swale Farm and pastured meat and poultry from Fair Valley Farm and Fog Hollow Farm. 


Camas Swale has a eye popping selection of crunchy spring vegetables -- cucumbers, snap peas, fennel bulb, and turnips -- to layer on a bed of their purple tipped butterhead lettuce. For salad dressing, I usually make a miso vinaigrette, sometimes with tahini for more creaminess. But for an extra decadent treat I decided to whip up a creamy lemon and fennel frond dressing based on this recipe.


This creamy salad was the perfect accompaniment to Turkish stuffed flatbreads called pide, made with Fair Valley Farm ground lamb. And once people started drizzling the dressing on their plates, they found it also went well with roasted cauliflower, garlic scapes, and chickpeas, or just eaten with a spoon.


Creamy Lemon Fennel Dressing
1 lemon
2 tablespoons crème fraîche or sour cream
Fine sea salt to taste
1/2 teaspoon mild honey
1-2 tablespoons minced fennel fronds
5 tablespoons extra virgin olive oil

Grate the lemon with a zester and set zest aside. Halve lemon and juice one of the halves.

Whisk crème fraîche or sour cream, lemon juice, zest, salt, and honey together until smooth.

While whisking, add olive oil in a thin stream until blended.

Add fennel fronds and whisk again to incorporate. Taste and adjust seasoning (salt, lemon juice, honey) as needed.

Serve the dressing over a salad of crunchy spring vegetables and butterhead lettuce.

Saturday, June 22, 2019

Turkey and Zucchini Burgers


This Sunday, visit the Fairmount Neighborhood Farmers Market from 10 am - 2 pm at the corner of Agate and 19th Ave for a wide selection of fresh produce from Camas Swale Farm and pastured meat and poultry from Fair Valley Farm and Fog Hollow Farm. 


With our haul of Camas Swale zucchini and green onions I finally tried a recipe from Yotam Ottolenghi and Sami Tamimi's Jerusalem that I'd heard has a cult following. I'd avoided it until now because of my kids' lukewarm feelings about zucchinis. Miraculously this summer they have suddenly become zucchini enthusiasts, for example eating zucchini flatbreads with gusto. These burgers were a similar hit, especially with the spiced yogurt sauce that doubled as a creamy dressing for a salad with lentils and roasted baby turnips.


Turkey and Zucchini Burgers with Green Onions and Cumin
from Yotam Ottolenghi and Sami Tamimi's Jerusalem
makes about 18 small burgers  
for the burgers
1 lb ground turkey
1 large or 2 medium zucchini, grated (2 cups grated)
3 green onions, sliced
1 large egg, beaten
2 Tbsp chopped fresh mint
2 Tbsp chopped fresh cilantro
2 cloves garlic, minced
1 tsp ground cumin
1 tsp salt
1/2 tsp fresh ground pepper
1/2 tsp cayenne pepper
oil for browning

for the sour cream and sumac sauce
2/3 cup yogurt
1/2 cup sour cream
zest of 1 lemon
juice of 1/2 lemon
1 small clove garlic, minced
1 1/2 tsp olive oil
1 Tbsp sumac
1/2 tsp salt
1/4 tsp fresh ground pepper

1. Preheat the oven to 425F.
2. Make the sumac sauce by combining all the ingredients in a bowl and mixing well. Refrigerate until needed. 
3. Put all the burger ingredients, except the oil, in a large bowl. Mix well, using your hands, making sure to get all the ingredients are well incorporated, and shape into about 18 burgers.
4. Coat the bottom of a skillet lightly with oil and heat until it is nice and hot. You should hear a good sizzle when the patties hit the pan, If not, let the oil heat more. Working in batches, brown the patties on both sides, for about 2 minutes per side, and add more oil as needed.
5. Carefully transfer the burgers to a parchment or silicone mat lined baking sheet and bake for about 7 to 10 minutes, just until done inside.
6. Serve the burgers warm or room temperature with the sauce.

Saturday, June 15, 2019

Marinated Chicken Breast with Soba Noodles


The Fairmount Neighborhood Farmers Market, held on Sundays from Sunday 10 am - 2 pm at the corner of Agate and 19th Ave, offers a wide selection of fresh produce from Camas Swale Farm and pastured meat and poultry from Fair Valley Farm and Fog Hollow Farm. 


Last week we picked up chicken breasts from Fog Hollow Farm for Sunday's dinner. I thawed them in a fish sauce marinade inspired by one from Andrea Nguyen's Vietnamese Food Any Day and then roasted them along with some sliced carrots, to soak up the extra marinade and chicken juices.


From Camas Swale Farm, we'd purchased a bunch of bok choy rabe that I stir fried with a bit of plum sauce, some summer squash that got a splash of Chinese vinegar, and some broccoli that roasted along with the chicken. Then I served everything with room temperature dressed soba noodles in a bibim guksu. This is the perfect meal for a warm summer evening when you have lots of fresh summer produce to enjoy.


Marinated Chicken Bread with Soba Noodles
2 bone in chicken breasts
4 carrots or other root vegetables of your choosing

marinade
3 garlic cloves
4 green onions
1/4 tsp freshly ground pepper
1/2 tsp Chinese five-spice powder
2 Tbsp packed brown sugar
1 1/2 Tbsp fish sauce
1 tsp soy sauce
1 1/2 Tbsp canola oil
Mince the garlic and green onions and combine with all of the other marinade ingredients. Marinade the chicken breast for at least one hour (if you purchase frozen breasts from Fog Hollow Farm, you can let them thaw in the marinade).
Preheat the oven to 425 degrees. Place the chicken with the marinade in a small baking dish. Cut the carrots or other root vegetables into thick slices or chunks and spread over the remaining space in the baking pan. Bake for about 30 minutes until the chicken breast is cooked through, basting occasionally with the marinade. Allow the cooked chicken to rest and then cut into slices. 

noodles
300 g (3 circular packets) of soba noodles
Cook in salted boiling water until barely cooked through (about 5 minutes), then immediately rinse under cold water until entirely cooled. Toss with the noodle sauce (recipe immediately below) 

noodle sauce
2 Tbsp soy sauce
2 tsp rice vinegar
2 tsp sesame oil
1 tsp honey
1 tsp Korean gochujang paste for a mild, kid-friendly sauce, or more as desired 
1 Tbsp sesame seeds
Mix together all the ingredients. Taste and adjust flavorings as desired. Use to coat the cooked soba noodles

sweet and sour zucchini
2 zucchini
salt
2 Tbsp cooking oil
2 garlic cloves, finely sliced
1/2 tsp sugar
1 tsp Chinkiang vinegar
Quarter the summer squash lengthwise, and slice thinly. Toss with 1/2 tsp salt, mix well and set aside for 30 minutes or so to sweat. When you are ready to cook, squeeze the slices to get rid of excess water. Heat a wok over a high flame. Add the oil, then the garlic, and stir-fry for a few seconds until you smell its fragrance. Add the squash and stir-fry until they are hot and just cooked, but still a little crisp. Add the sugar and vinegar, with salt to taste, stir a couple of times, then tip on to a dish and serve.

bok choy rabe with plum sauce
1 bunch bok choy rabe
1 Tbsp canola oil
salt to taste
1 tsp plum sauce
Slice the rabe into 1 1/2 inch long sections. Heat a wok over high heat. Add the canola oil and sear the rabe, with a generous pinch of salt, for a couple of minutes until it turns bright green and is your desired level of cooked. Stir in the plum sauce and serve.

For the bibim guksu, serve the soba noodles at room temperature with the chicken slices, roasted carrots, zucchini, bok choy rabe, and kimchi. 

Saturday, June 8, 2019

Instant Pot Miso Glazed Turnips and Macaroni and Cheese


On this beautiful spring weekend, plan a visit to the Fairmount Neighborhood Farmers Market, Sunday 10 am - 2 pm at the corner of Agate and 19th Ave. You'll find fresh produce from Camas Swale Farm and pastured meat and poultry from Fair Valley Farm and Fog Hollow Farm. 


Last weekend Camas Swale had a stunning selection of turnips, both creamy white and bright magenta. Lately I've been using my Instant Pot to cook root vegetables. I'll start them in some butter, add a tiny splash of water and baking soda (to create an alkaline pH that encourages caramelization as described here). After the pressure cooking is done I'll simmer the vegetables for a little to reduce the liquid into a glaze and stir in some miso for extra flavor. For this dinner I also used the Instant Pot to make my new favorite macaroni and cheese using whey from strained yogurt, also made in the Instant Pot. Some roasted Camas Swale broccoli rounded out the meal.


Instant Pot Miso Glazed Turnips
1 lb baby turnips
2 Tbsp butter
pinch of salt
2 Tbsp water
1/4 tsp baking soda
1 tsp white miso

1. Rinse and trim the turnips and cut them into halves if they are very small or quarters or eighths for bigger ones. Turn on the Instant Pot saute function and melt the butter. Add the turnip pieces and a pinch of salt and cook, tossing, for a couple of minutes, until all of the turnip pieces are coated. Press cancel.

2. Mix the baking soda with the water. Pour over the turnip pieces, seal the lid, and pressure cook for 2 minutes on high. Press cancel and release the pressure by carefully opening the vent. Turn back on the saute function on high and cook for a couple of minutes to reduce the liquid in the pot to a glaze. Press cancel. Stir in 1 tsp of miso to coat the turnips. Taste and add more salt or miso as you desire. Serve warm.


Note: if you don't have an Instant Pot, cook the turnips on the stove top in butter and then simmer in a little water until soft, and finish with miso.

Whey Good Instant Pot Macaroni and Cheese
2 Tbsp butter (divided use)
1 lb elbow noodles
4 cups whey from strained yogurt (or use broth or water)
pinch of salt
1/2 tsp mustard powder or more to taste
6 ounces gruyere or other pungent Swiss cheese, grated
4 ounces aged sharp cheddar, grated
1 cup bread crumbs or panko
1/4 cup grated Pecorino Romano or Parmesan cheese

1. Use 1 tsp butter to grease a 9 x 9 inch baking dish. Turn on the saute function of the Instant Pot and melt the remaining butter in the pot. Press cancel. Add the elbow noodles to the pot. Stir the mustard powder and a pinch of salt into the 4 cups of whey or other liquid and pour that into the pot. 

2. Seal the lid and cook on high pressure for 4 minutes. While the noodles are cooking, preheat your broiler. When the cooking finishes, press cancel and release the pressure by carefully opening the vent. Stir in the grated Swiss and cheddar cheese. Taste a noodle and add more salt if needed.

3. Transfer the noodles to the greased baking dish. Sprinkle over the bread crumbs and Pecorino Romano cheese. Bake under the broiler for one or two minutes until the top is browned, keeping a close watch so that the bread crumbs don't burn. Serve warm.

Note: if you don't have an Instant Pot, cook the noodles in a pot on the stovetop with whey and some additional water as needed, then mix in the cheese and follow the rest of the recipe.

Friday, May 31, 2019

Market start June 2


Welcome to the tenth season of the Fairmount Neighborhood Farmers Market, which will run from June through October on Sundays 10 am - 2 pm at the corner of Agate and 19th Ave. You'll find fresh produce from Camas Swale Farm, pastured meat and poultry from Fair Valley Farm and Fog Hollow Farm, and fresh flower arrangements from Tiger Lily Art Company. 


This evening my daughter meticulously slicing a single radish, the extent of our daily garden harvest, into paper thin wafers to eke out garnishes for our white bean and vegetable fajita tacos. After this whiff of fresh root vegetables, I'm looking forward to the bounty of our local neighborhood farmers market this summer.   

Saturday, October 27, 2018

Pumpkin Pancakes


This Sunday at the Fairmount Neighborhood Farmers Market, stock up on pastured meats from Fair Valley Farm and Fog Hollow Farm and fresh produce from Camas Swale Farm, including plenty of greens and root vegetables, and winter squash.


As soon as you get home, roast some winter squash and you will be that much closer to making this praline pumpkin pie for Thanksgiving (delicious made with traditional pie pumpkin or kabocha squash). You will also have plenty of squash puree left over for pumpkin pancakes for a special fall weekend breakfast. We devoured a batch this morning, served with dollops yogurt, sprinkles of flax seeds and maple syrup.


Pumpkin Pancakes
adapted from NYT Cooking, makes 16-20 small pancakes
1 ½ cups/192 grams all-purpose flour
2 tablespoons sugar
1 ½ teaspoons baking powder
¾ teaspoon baking soda
¾ teaspoon kosher salt
1 ½ teaspoons ground cinnamon
1 teaspoon ground ginger
1 ½ cups buttermilk
¾ cup pumpkin purée
2 eggs
3 tablespoons melted butter, plus more for greasing the skillet
1 teaspoon vanilla extract

1. In a large bowl, whisk the flour, sugar, baking powder, baking soda, salt and spices together until well combined.

2. In a medium bowl, whisk the buttermilk, pumpkin purée, eggs, melted butter and vanilla extract until well combined.

3. Add the wet ingredients to the dry ingredients and gently fold with a rubber spatula until just combined. (A few small lumps are O.K.)

4. Heat a lightly greased griddle or nonstick skillet over medium-low heat. Drop the pancakes into the pan using a heaping soup spoon, making sure to leave plenty of room in between for the batter to expand.

5. Cook for a minute or two, until the batter bubbles at the edges and browns on the bottom, then carefully flip. Cook another minute or two, until the batter is completely cooked through and the pancakes are puffy and deep golden brown. Repeat until all of the batter is used. Serve the pancakes as you make them or keep the pancakes warm as you cook them by setting them on a baking sheet in a 250-degree oven.

Friday, October 19, 2018

Sweet Potato and Carrot Salad with Cumin and Herbs


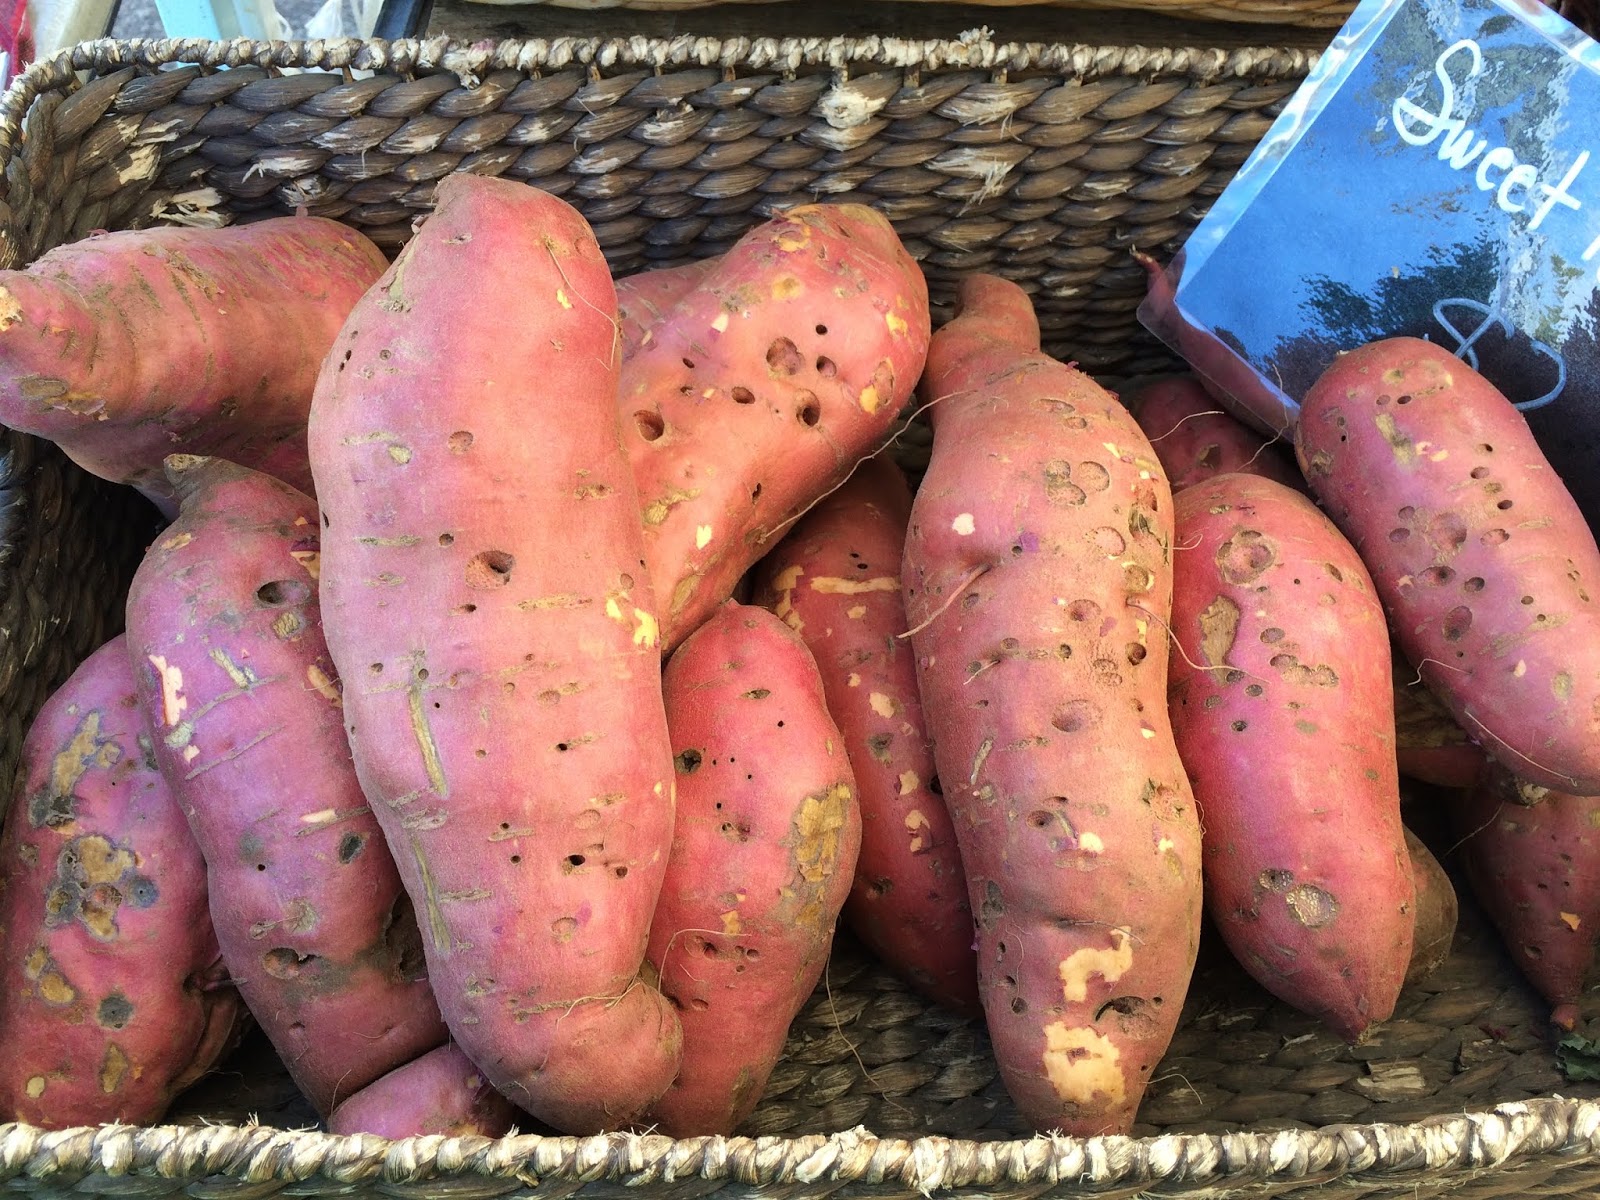
This Sunday at the Fairmount Neighborhood Farmers Market, stock up on pastured meats from Fair Valley Farm and Fog Hollow Farm and fresh produce from Camas Swale Farm, including plenty of greens and root vegetables such as sweet potatoes.


My standard dish with sweet potatoes is fries, but with the sunny weather we've been having, I felt like something lighter, so I went hunting for inspiration in my cookbook collection and came across a tamarind sweet potato salad in Neelam Batra's 1000 Indian Recipes. I didn't have tamarind or several of the other ingredients, but it inspired me to toss steamed sweet potato with toasted cumin seeds, a lime juice dressing, and plenty of mint and cilantro. With the addition of some purple carrots for color and crunch, this turned into a bright and refreshing salad that might just reappear on our Thanksgiving dinner table as a contrast to the beloved but soft and bland standbys.


Sweet Potato and Carrot Salad with Cumin and Herbs
1 large sweet potato
2 carrots
1 tsp cumin seeds
1 Tbsp olive oil
juice from 1 lime
1/2 tsp honey
salt to taste
1 handful mint leaves, chopped
1 handful cilantro leaves. chopped

1. Steam the sweet potato to cook through. I pressure cooked it in an Instant Pot for 18 minutes. When cool enough to handle, peel and cut into 1 1/2 inch cubes. Peel the carrots and cut into similar sized cubes.

2. In a dry skillet, toast the cumin seeds briefly so that they become fragrant. Transfer to a mortar and bruise them with a pestle. Whisk together the cumin seeds with 1 Tbsp olive oil, juice from one lime, 1/2 tsp honey and a pinch of salt. Use the dressing to coat the sweet potato and carrots. Toss with the fresh herbs. Taste and adjust seasoning as needed.

Friday, October 12, 2018

Roast Lemon Herb Chicken with Root Vegetables


This Sunday at the Fairmount Neighborhood Farmers Market, stock up on pastured meats from Fair Valley Farm and Fog Hollow Farm and fresh produce from Camas Swale Farm, including plenty of root vegetables such as potatoes, parsnips, carrots, beets, and celeriac.


Root vegetables are delicious roasted, and if you have the oven on, you should also roast a Fog Hollow Farm chicken. I like the method of spatchcocking the bird (removing it's backbone, which you can use to make a quick stock) and cooking it "under a brick" in a searing hot cast iron skillet to get the skin crispy and golden. Then you can flip it, tucking under some lemon slices and herbs to flavor the pan juices, and cook it at a lower temperature along with a sheet pan of cubed root vegetables.


I served our chicken with mash potatoes (always a favorite in our household), braised leeks, and a quick lemony gravy made with the pan juices. It felt like a low key dry run for Thanksgiving, which reminds me to remind you to reserve your Fair Valley Farm Thanksgiving turkey. 


Roast Lemon Herb Chicken with Root Vegetables
One 3 to 4 lb whole chicken
2 tsp salt
1 tsp ground pepper
drizzle of olive oil
1 lemon, sliced
6 sprigs thyme
3 sprigs rosemary
1 Tbsp flour
1 to 2 cups chicken broth

selection of root vegetables (parsnips, celeriac, beet, sweet potato), cleaned, peeled, and chopped into 1 inch cubes to make about 3 cups.

optional quick chicken stock
chicken backbone
1 chopped onion
1 chopped celery stalk
4 sprigs thyme
1 tsp salt
4 cups water

1. At least two hours and up to one day before you start to roast the chicken, spatchcock it. Using a sharp pair of scissors, cut along each side of the backbone from the neck to the tail, and remove the backbone (reserve for stock). Spread the chicken out and push down on the breast bone until you feel it break, so that the bird lies flat.Salt and pepper all over and rub the breast with olive oil. Refrigerate again if roasting in over two hours.

2. To make a quick chicken broth for the gravy, combine the chicken back bone with 4 cups water, 1 tsp salt, 4 sprigs thyme, 1 chopped onion, 1 chopped celery stock, or other vegetables you have around, and let simmer over low heat for 1 to 2 hours. Taste and add more salt if needed. Strain and reserve the stock.

3. About one hour before baking, place a large cast iron skillet in the oven and start preheating at 500 degrees.

4. Prepare all of the root vegetables, cleaning and peeling as needed, and cut into 1 inch cubes. Toss on a rimmed sheet pan with salt and a drizzled of olive oil.

5. When the cast iron skillet is very hot, remove it from the oven and carefully put the chicken in the skillet, breast side down, with the legs splayed flat. Place an oven-safe plate on top of the chicken and weigh it down with a second skillet or some bricks. Roast for 15 minutes, then take the chicken out of the oven and turn the oven temperature down to 350 degrees. Remove the weights from the chicken and transfer it to a plate. Distribute the lemon slices over the bottom of the chicken-cooking skillet, then the herbs, and then return the chicken to the skillet on top of the lemon and herbs, breast side up, and return the skillet to the oven. 

6. Place the sheet pan with root vegetables in the oven when you return the chicken.  Roast the chicken for about another 20 minutes until it is cooked through and an instant-read thermometer inserted into the meaty part of the thigh reads 155 to 165 degrees. Give the root vegetables an occasional turn and keep an eye on them. They will be done when they are soft through and have some char around the edges. They will likely need another 10 minutes after you take out the chicken.

7. When the chicken is done, remove the skillet from the oven. Transfer the chicken to a carving platter and let it rest. Transfer the lemon slices and herbs to a serving platter. Heat the skillet with the pan juices over medium low heat. Using a whisk, stir 1 Tbsp flour into the pan juices. Once the mixture thickens, gradually add 1 to 2 cups of stock while whisking until the gravy is the desired thickness. Taste and adjust seasoning with more salt, some fresh lemon juice, or a splash of sherry.

8. At this point the root vegetables should be done and you can remove them from the oven. Carve the chicken and transfer to the serving platter on top of the cooked lemon slices. Serve with the roasted vegetables and gravy. 

Friday, October 5, 2018

Tofu Puffs and Bok Choy Pickles


This Sunday at the Fairmount Neighborhood Farmers Market, stock up on pastured meats from Fair Valley Farm and Fog Hollow Farm and fresh produce from Camas Swale Farm, including plenty of root vegetables, squash, and bok choy.


We had a period last spring when we ate a lot of bok choy while my son was concocting a recipe for a 4J elementary school cooking competition with the theme of "healthy, kid-friendly Asian fusion" and extra points for using brown rice, tofu, bok choy, ginger, and garlic. He decided to hedge his bets and use all of the above. For the tofu, he made a ginger and garlic version of baked tofu cubes from Deb Perelman's Smitten Kitchen Everyday, coated with a soy sauce and cornstarch mixture that gives them a crispy surface, and they were an immediate hit. The first iteration of the bok choy was another matter. He had steamed these until quite soft and served them limply over plain brown rice. His older sister pushed hers around her plate with teenage contempt. My son initially wrote this off to her being a picky eater, but ultimately had to concede that she represented his target audience, who might be equally as picky. So he went back to the drawing board and came up with the idea of making quick pickles with the crunchy bok choy stems. This proved to be much more popular and had the added benefit of providing some sweet and salty pickle brine to drizzle on the brown rice. His recipe was chosen as one of the two representing his grade school in the citywide competition. The big day came when they all prepared their recipes in a cavernous cafeteria. Working with awkward knife guard gloves, abiding by food handling regulations, and producing 50 tasting samples were all challenging, but he stayed cheerful through it all and even came up with an eye catching Dr. Seuss-esque food plating design using denuded bok choy stalks.


Perhaps most rewardingly, his recipes have made their way into our regular family meal rotation, as in this rice bowl with tofu puffs.


Tofu Puffs and Bok Choy Pickles
for the tofu puffs
1 block extra firm tofu
1 Tbsp canola oil
1 Tbsp soy sauce
1 Tbsp cornstarch
1 Tbsp diced garlic
2 cloves garlic, diced

for the bok choy pickles
1 head bok choy (or two baby bok choy)
2 tsp sugar
1 tsp salt
1/4 cup hot water
1/4 cup rice vinegar

1. Preheat the oven to 400 degrees and line a rimmed baking sheet with parchment paper.

2. Set a pot of brown rice to cook.

3. Slice the tofu into 1/2 inch thick slices, and press between two cutting boards to drain off excess liquid. Cut the slices into 1/2 inch cubes.

4. In a large bowl, mix together the oil, soy sauce, corn starch, garlic, and ginger. Gently fold in the tofu cubes to coat with the soy sauce mixture. Spread them onto the parchment paper coated baking sheet and bake at 400 degrees for 30 or 35 minutes, turning once, until puffy and golden.

5. While the tofu bakes, prepare the quick pickles. Mix the sugar and salt into the hot water to dissolve and then stir in the vinegar. Allow to cool a few minutes.

6. Separate the leaves from the bok choy head and rinse well. Cut the white stems from the green leaves and reserve the greens for another use (stir fry or salad). Cut the white stems into 1/2 inch pieces, stir into the pickle brine, and allow to marinate for at least 30 minutes.

7. Serve the tofu puffs with brown rice topped with the pickles and drizzled with some of the pickle brine.